1. 概要
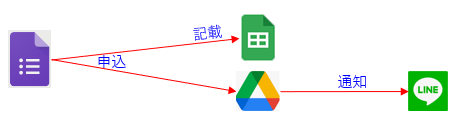
申込があった場合、下記処理を行う事で申込管理をしやすくする。
- スプレッドシートへ記載
- 名簿や集計用
- Lineへ通知
- 状況確認用
本記事では「API連携」による通知について解説します。
2. LINE Messaging APIの準備
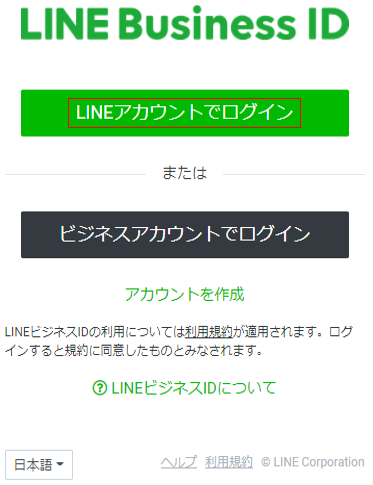
2-1. 「LINE Developers」にアクセス
- 「ログイン」をクリック
2-2 LINEアカウントでログイン
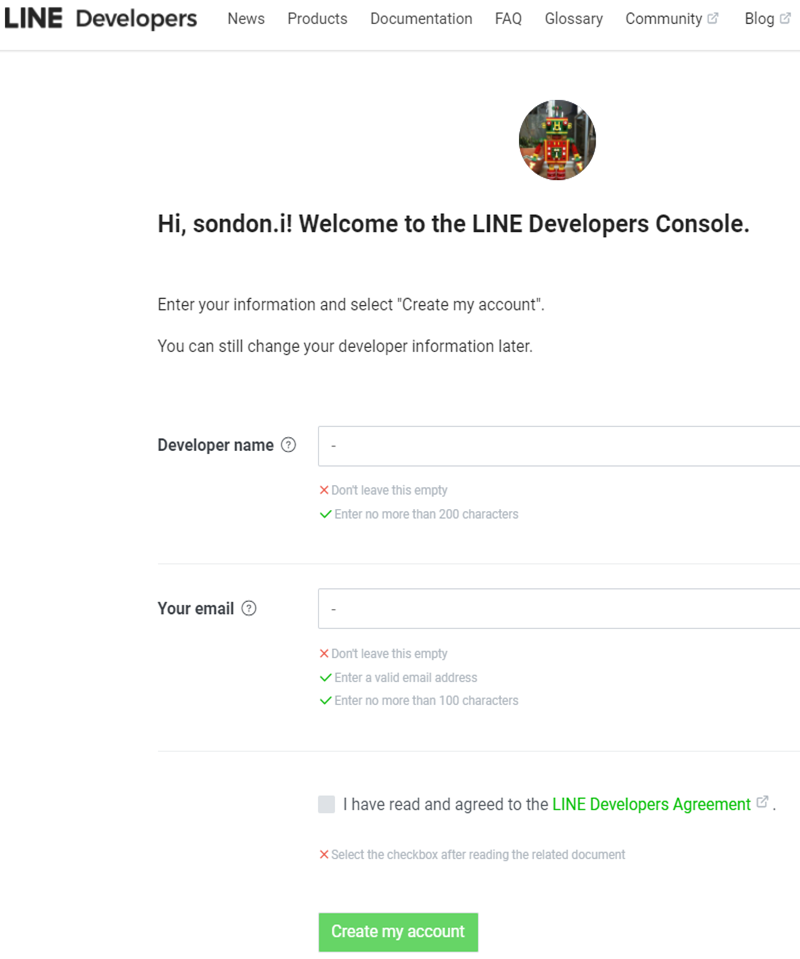
2-3. 「LINE Developers Account」を作成
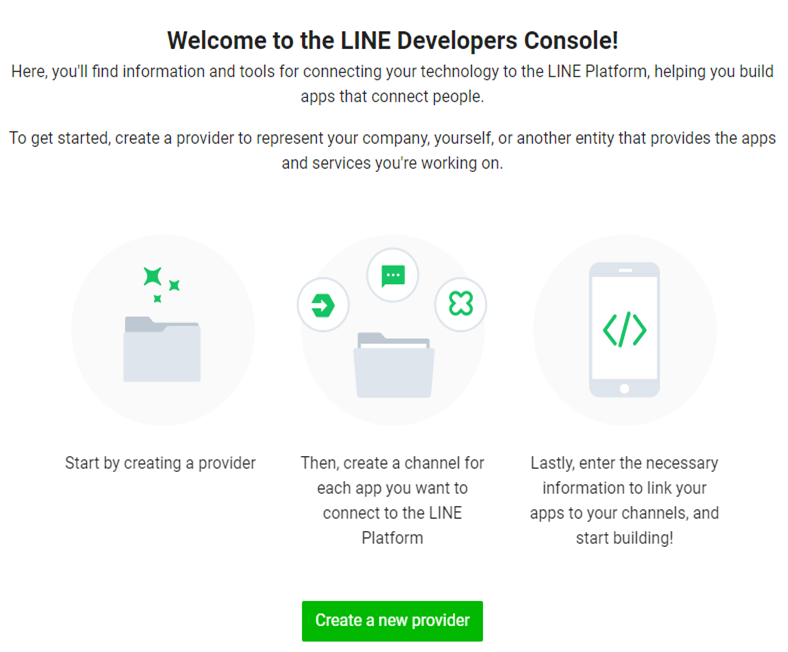
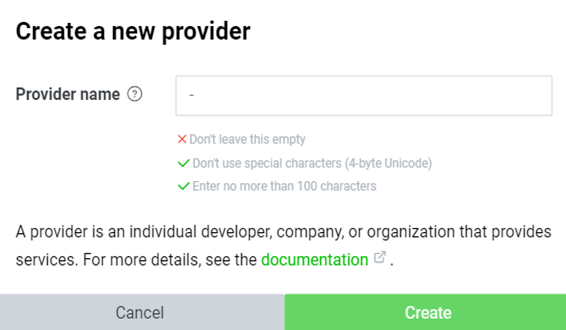
2-4. 「Provider」を作成
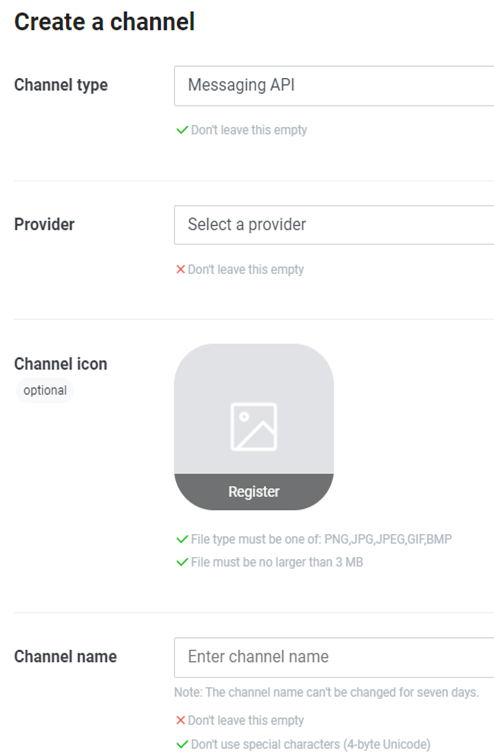
2-5. 「Channel」を作成
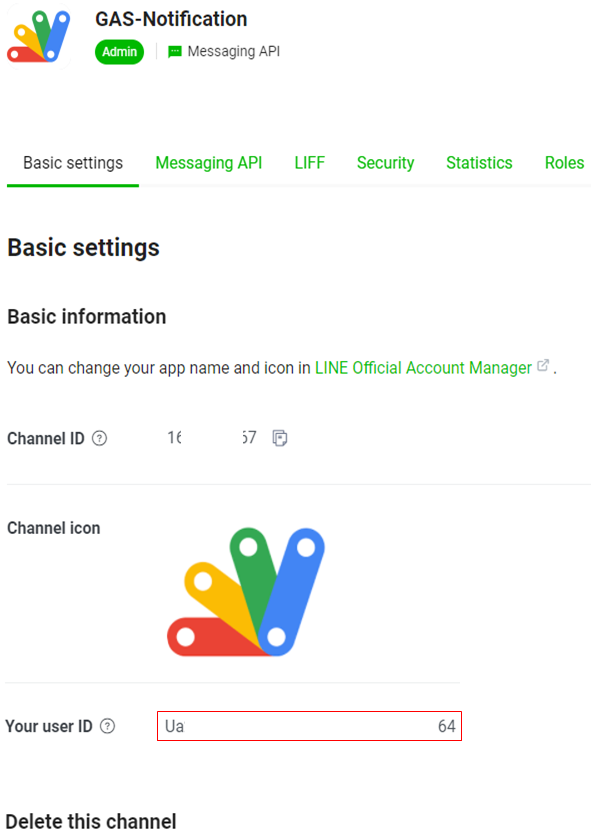
2-6. 「User ID」を取得
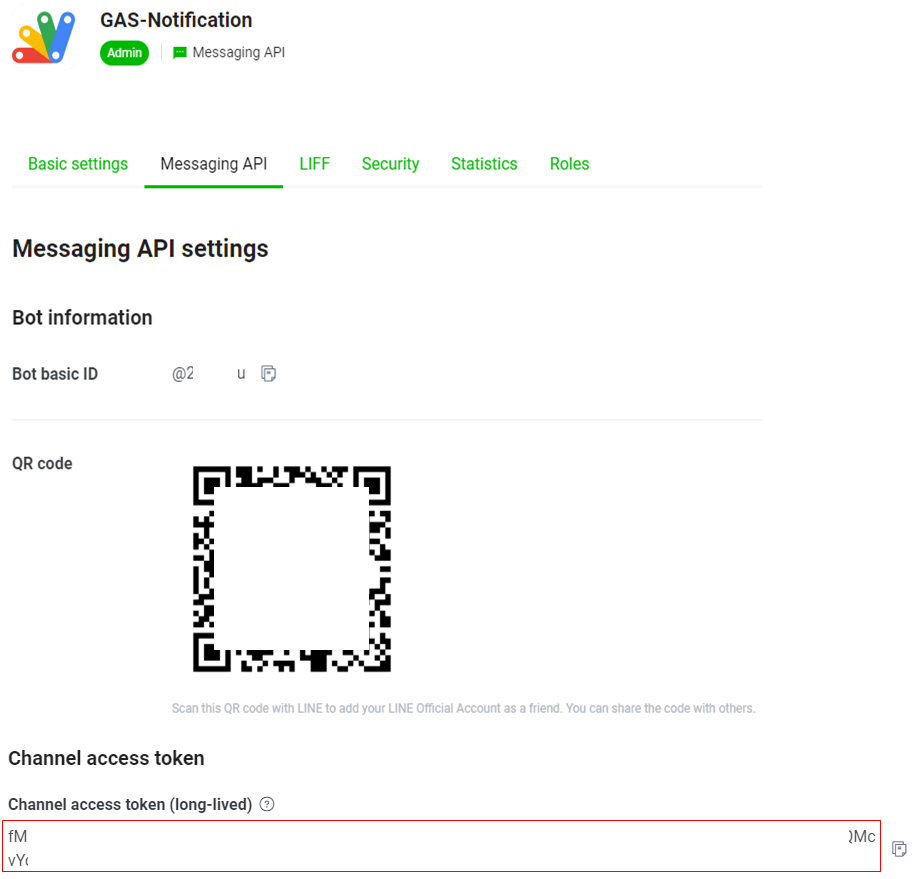
2-7. 「Access Token」を取得
3. Google Formsの準備
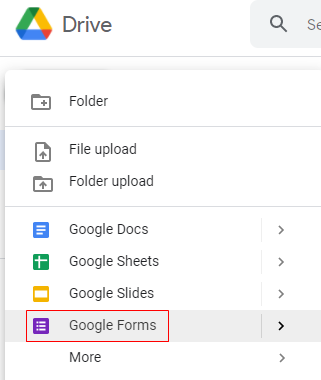
3-1. Google Formsをクリック
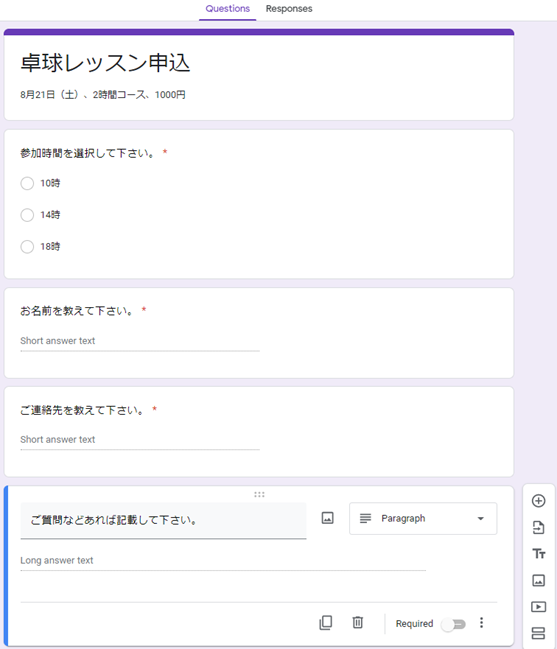
3-2. 申込フォームを作成
3-3. スプレッドシートをクリック
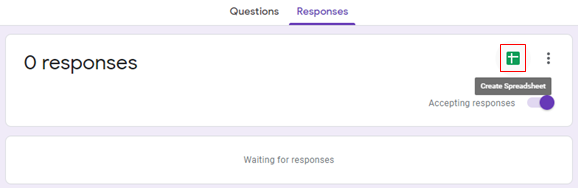
3-4. スプレッドシートを新規作成
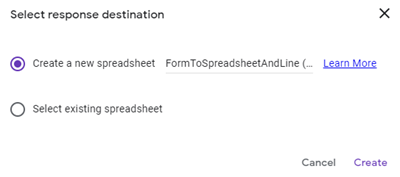
3-5. スプレッドシートが作成される

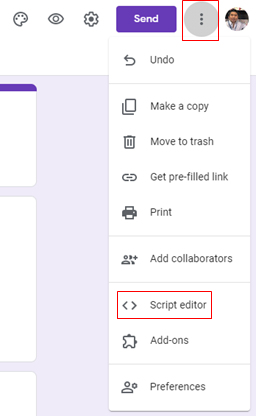
3-6. Script editorを開く方法
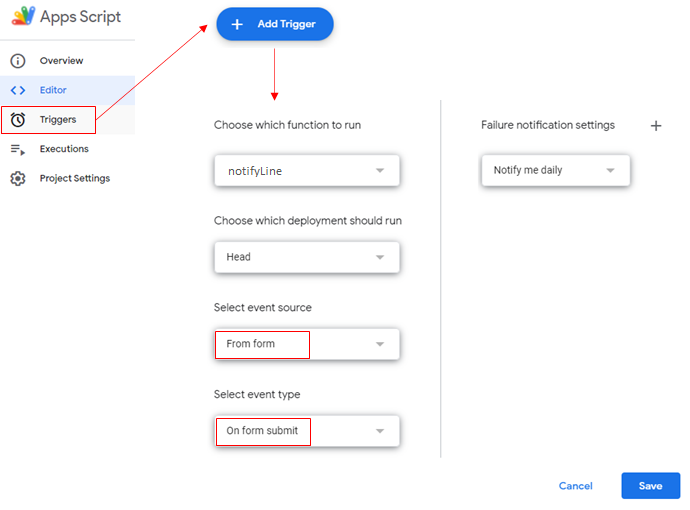
3-7. トリガー設定
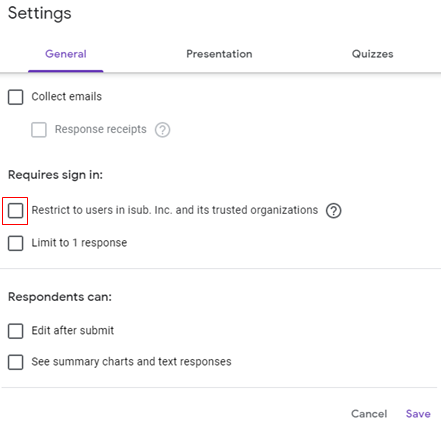
3-8. 組織外からでも申込が出来るようにする
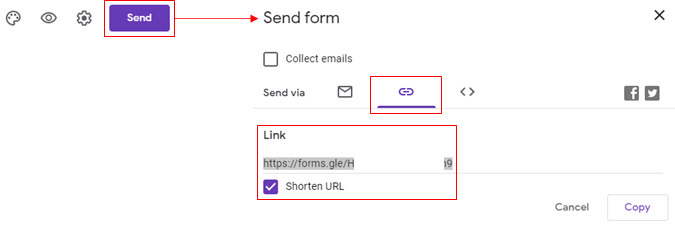
3-9. URLの取得
4. サンプルコード
4-1. ファイル構成(GitHubで管理 )
- notification/line/form_to_spreadsheet_and_line.gs
- メインコード
- notification/slack/gas_properties.gsheet
- 「WebHook URL」を含め、コード内に書かない方が良いデータ(ID、PASSWORD、KEY等)をプロパティとして保存
4-2. スプレッドシートIDの取得

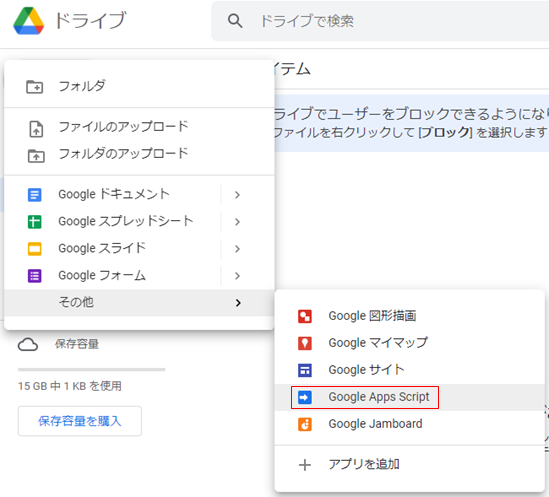
4-3. GAS Editorの開け方
※「+新規」をクリック
4-4. コード & 解説
※複数のプログラムよりプロパティファイルを共有する為、敢えてスタンドアロン型(*6-2)を採用する
// プロパティ情報が記載されているスプレッドシートのID
const bookId = '1j2z-S●●●●●●●●●●●●●●●●●●●●●●●●●●●●cQk';
// Mainメソッド
// GoogleForms入力からLineへ通知
const notifyLine = (e) => {
sendToLine(getEventInfo(e));
}
// フォームから入力データを取得
const getEventInfo = (e) => {
const itemResponses = e.response.getItemResponses();
const time = itemResponses[0].getResponse();
const name = itemResponses[1].getResponse();
const telNo = itemResponses[2].getResponse();
const notes = itemResponses[3].getResponse();
const now = Utilities.formatDate(new Date(), 'JST', 'YYYY-MM-dd HH:mm:ss');
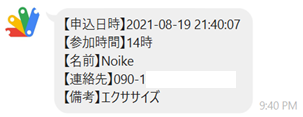
const eventInfo = `【申込日時】${now}\n【参加時間】${time}\n【名前】${name}\n【連絡先】${telNo}\n【備考】${notes}`;
return eventInfo;
}
// 指定のスプレッドシートに記載されているプロパティの値を取得
const getValueOfProperty = (cell) => {
const sheet = SpreadsheetApp.openById(bookId).getSheetByName('Properties');
return sheet.getRange(cell).getValue();
}
// メッセージをLineへ通知
const sendToLine = (msg) => {
// Message Push API Url
const targetUrl = getValueOfProperty('C23');
// アクセストークン
const accessToken = getValueOfProperty('D23');
// BotユーザーID
const to = getValueOfProperty('E23');
const headers = {
'Content-type': 'application/json; charset=UTF-8',
'Authorization': 'Bearer ' + accessToken,
};
const param = {
'to': to,
'messages': [
{
'type': 'text',
'text': msg,
},
],
};
const payload = JSON.stringify(param);
const options = {
'method': 'post',
'headers': headers,
'payload': payload,
};
UrlFetchApp.fetch(targetUrl, options);
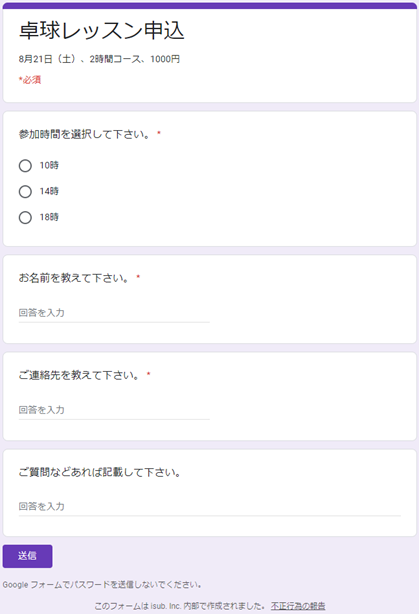
}5. 実行結果例
【申込フォーム】
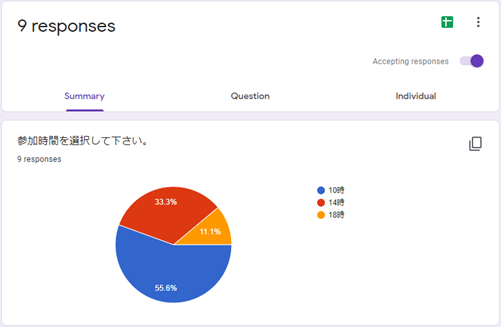
【集計】
【スプレッドシート】

【Line】
6. 参考
6-1. GAS(Google Apps Script)とは
- https://workspace.google.co.jp/intl/ja/products/apps-script/
- https://developers.google.com/apps-script?hl=ja
6-2. 2種類の方式
- コンテナバインド型(スプレッドシートやフォームに紐づくタイプ)
- スタンドアロン型(独立タイプ)
6-3. Web APIとは
6-4. 「UrlFetchApp.fetch()」について
投稿者プロフィール
-
開発好きなシステムエンジニアです。
卓球にハマってます。