1. 概要

指定のディレクトリに画像ファイルがアップロードされ次第、処理される。
本記事では「API連携」による通知について解説します。
2. LINE Messaging APIの準備
2-1. 「LINE Developers」にアクセス
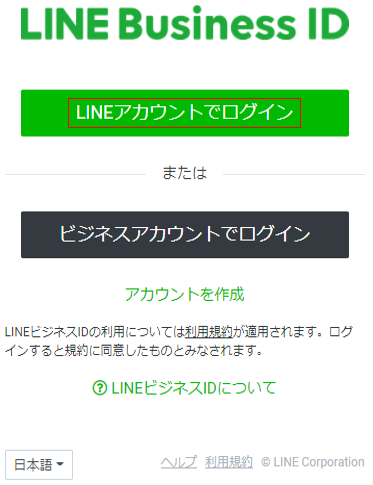
- 「ログイン」をクリック
2-2 LINEアカウントでログイン
2-3. 「LINE Developers Account」を作成
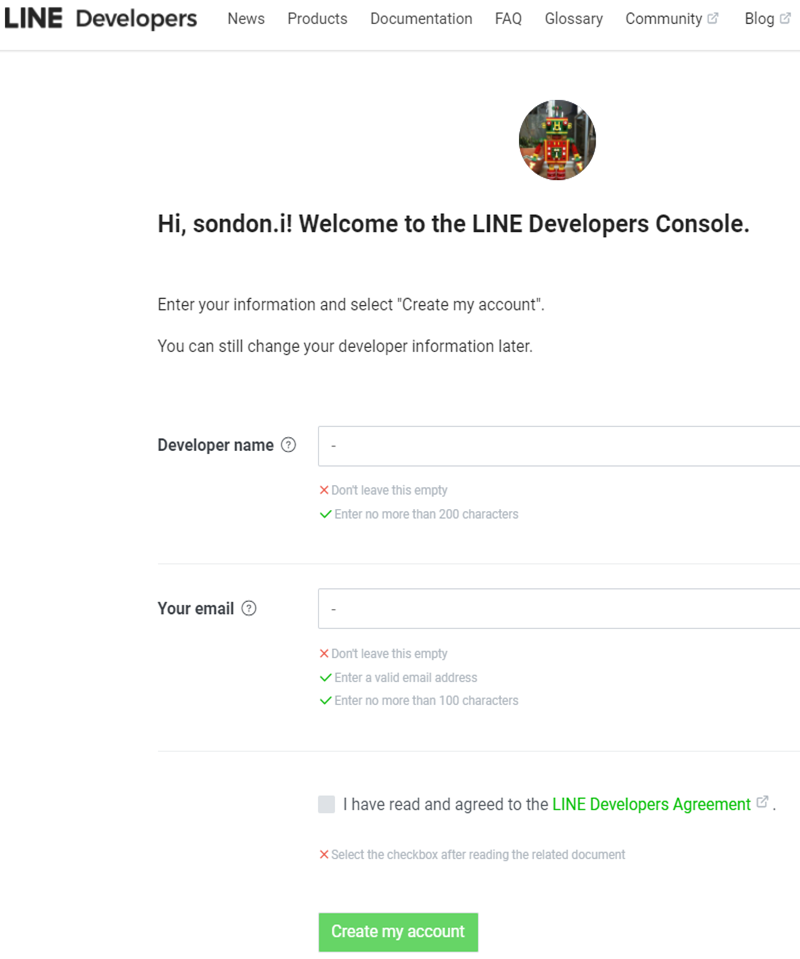
2-4. 「Provider」を作成
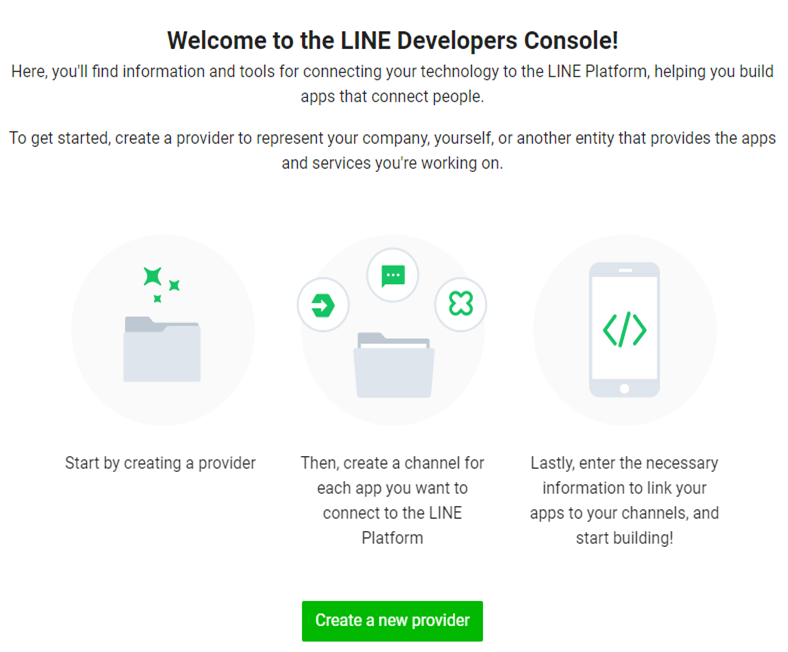
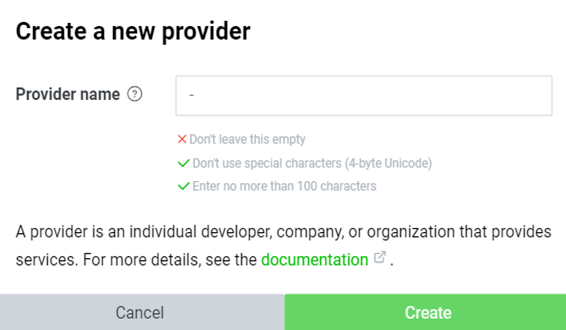
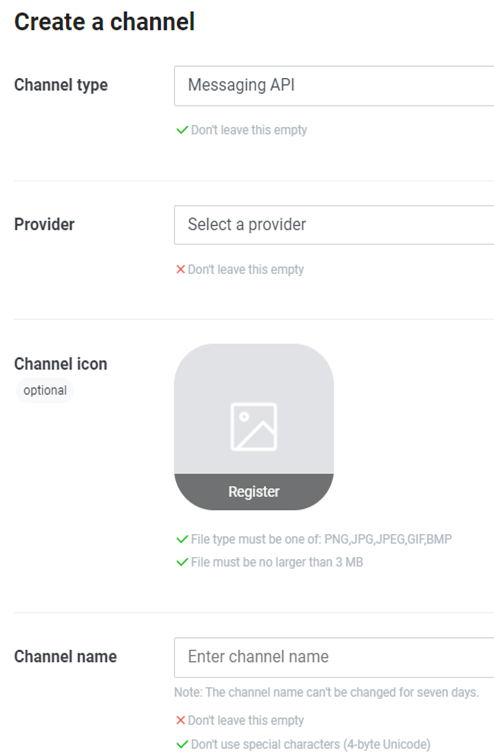
2-5. 「Channel」を作成
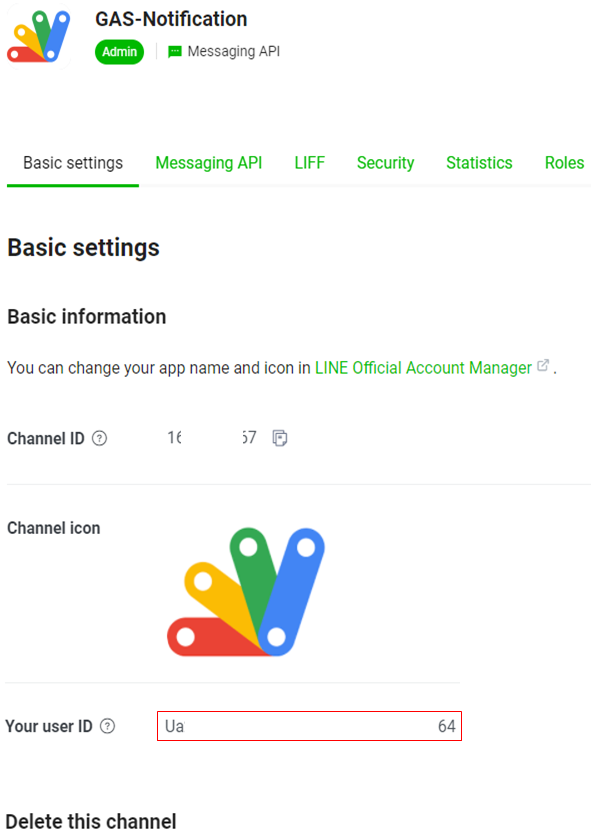
2-6. 「User ID」を取得
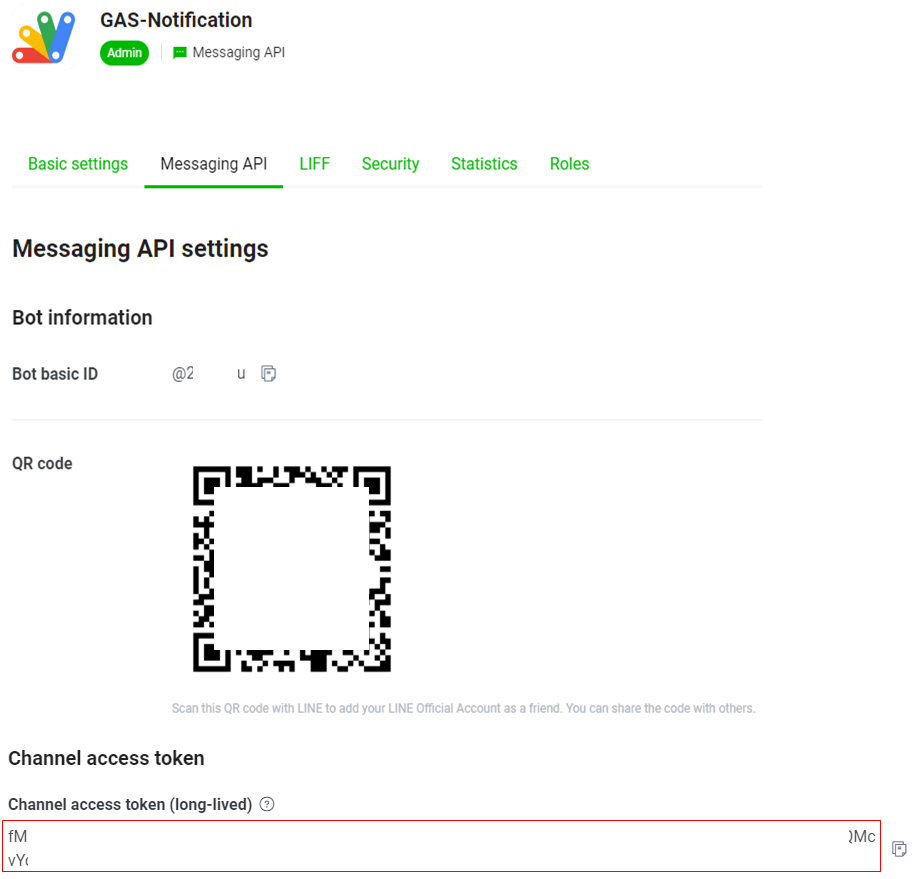
2-7. 「Access Token」を取得
3. OCRとは
光学文字認識(こうがくもじにんしき、英:Optical character recognition)は、活字、手書きテキストの画像を文字コードの列に変換するソフトウェアである。
- 「光学文字認識 – Wikipedia」より抜粋
4. サンプルコード
4-1. ファイル構成(GitHubで管理 )
- notification/slack/ocr_to_line.gs
- メインコード
- notification/slack/gas_properties.gsheet
- 「WebHook URL」を含め、コード内に書かない方が良いデータ(ID、PASSWORD、KEY等)をプロパティとして保存
4-2. スプレッドシートIDの取得

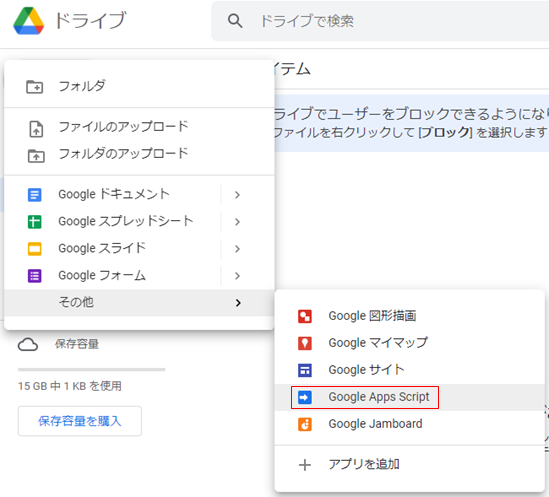
4-3. GAS Editorの開け方
※「+新規」をクリック
4-4. コード & 解説
※複数のプログラムよりプロパティファイルを共有する為、敢えてスタンドアロン型(*6-2)を採用する
// プロパティ情報が記載されているスプレッドシートのID
const bookId = '1j2z-S●●●●●●●●●●●●●●●●●●●●●●●●●●●●cQk';

// Mainメソッド
// OCRにて画像からテキストを起こし、Lineへ通知
const notifyLine = () => {
  sendToLine(ocr());
}

// OCR処理
const ocr = () => {
  const imgDirId = getValueOfProperty('F14');
  const backupDirId = getValueOfProperty('G14');

  // 画像格納ディレクトリに画像があるかチェックし、画像リストを作成
  const dir = DriveApp.getFolderById(imgDirId);
  const imgs = dir.searchFiles(`mimeType='${MimeType.JPEG}' or mimeType='${MimeType.PNG}'`);

  let textInfo = [];

  while (imgs.hasNext()) {
    // テンポラリファイル名
    const resource = {
      title: 'temporary',
    };
    // オプション
    const options = {
      'convert': true,
      'ocr': true,
      'ocrLanguage': 'ja',
    };
    // 画像オブジェクト
    const img = imgs.next();
    // テキスト起こし用のドキュメント
    const image = Drive.Files.copy(resource, img.getId(), options);
    // テキストを取得
    const text = DocumentApp.openById(image.id).getBody().getText().trim();
    const now = Utilities.formatDate(new Date(), 'JST', 'YYYY-MM-dd HH:mm:ss');
    textInfo.push(`【日時】${now}\n【ファイル名】${img.getName()}\n【抽出テキスト】${text}`);

    // テンポラリファイルを削除
    Drive.Files.remove(image.id);
    // 処理済みのファイルを移動
    Drive.Files.update({
      'parents': [
        {
          'id': backupDirId
        },
      ]},
      img.getId(),
    );
  }
  return textInfo;
}

// 指定のスプレッドシートに記載されているプロパティの値を取得
const getValueOfProperty = (cell) => {
  const sheet = SpreadsheetApp.openById(bookId).getSheetByName('Properties');
  return sheet.getRange(cell).getValue();
}

// メッセージをLineへ通知
const sendToLine = (msgs) => {
  // Message Push API Url
  const targetUrl = getValueOfProperty('C14');
  // アクセストークン
  const accessToken = getValueOfProperty('D14');
  // BotユーザーID
  const userId = getValueOfProperty('E14');

  const headers = {
    'Content-type': 'application/json; charset=UTF-8',
    'Authorization': 'Bearer ' + accessToken,
  };

  msgs.forEach((msg) => {
    const param = {
      'to': userId,
      'messages': [
        {
          'type': 'text',
          'text': msg,
        },
      ],
    };

    const payload = JSON.stringify(param);

    const options = {
      'method': 'post',
      'headers': headers,
      'payload': payload,
    };

    UrlFetchApp.fetch(targetUrl, options);
  });
}
5. 実行結果例
【対象画像】

【LINEへ通知】

6. 参考
6-1. GAS(Google Apps Script)とは
- https://workspace.google.co.jp/intl/ja/products/apps-script/
- https://developers.google.com/apps-script?hl=ja
6-2. 2種類の方式
- コンテナバインド型(スプレッドシートやフォームに紐づくタイプ)
- スタンドアロン型(独立タイプ)
6-3. Web APIとは
6-4. 「UrlFetchApp.fetch()」について
投稿者プロフィール
-
開発好きなシステムエンジニアです。
卓球にハマってます。


